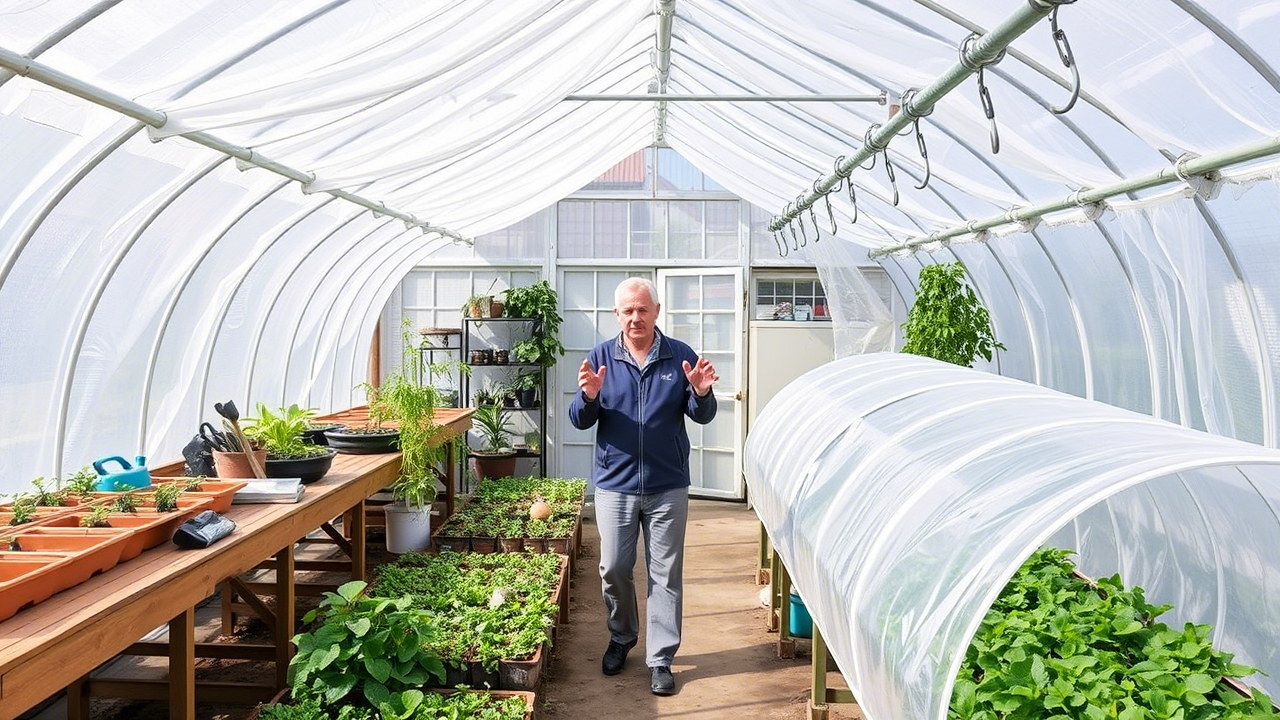
Here’s a detailed step-by-step guide to managing greenhouse plastics, combining best practices from multiple sources:
Step 1: Prepare the Greenhouse Frame
- Clean the frame: Remove dirt, debris, and sharp edges to prevent tearing the plastic. Sand or use foam tape on rough surfaces, especially if the frame is PVC (to avoid gas-induced degradation) .
- Measure the structure: Use a tape measure to determine the length, width, and height of the greenhouse. Add 1–2 feet of overlap on all sides for adjustments and securing .
- Install lock channels: Attach these to the baseboards, doors, and end walls using screws. These will hold the wiggle wire (spring wire) to secure the plastic .
Step 2: Choose the Right Plastic
- Select UV-stabilized polyethylene: Opt for 6-mil or thicker plastic for durability. Thicker plastics (8–11 mil) are better for snowy or windy climates .
- Consider features: Anti-drip coatings reduce condensation, while infrared-blocking plastics help regulate temperature. Double-layer plastic improves insulation and snow resistance .
Step 3: Install the Plastic
- Unroll the plastic: Do this on a calm, warm day to ease stretching. Position the plastic so the labeled side faces inward .
- Pull the plastic over the frame: Use ropes tied to corners or tennis balls to guide the plastic over the structure. Work with a team to distribute the material evenly .
- Secure temporarily: Use spring wire or clips to hold the plastic in place while adjusting tension .
Step 4: Secure with Wiggle Wire
- Start at the peak: Attach wiggle wire to the lock channel at the greenhouse’s apex. Work downward, pulling the plastic taut as you go .
- Overlap edges: Ensure 12–24 inches of overlap at seams, and seal with greenhouse repair tape or silicone to prevent leaks .
- Trim excess: Leave 2–3 inches of plastic beyond the base for future adjustments .
Step 5: Stretch and Tension the Plastic
- Work from the center outward: Use a broom or forearm to smooth wrinkles. Avoid overstretching, as cold weather can cause contraction and tears .
- Check tension: On warm days, re-tighten sagging areas by adjusting the wiggle wire .
Step 6: Seal and Ventilate
- Seal gaps: Use duct tape or silicone on seams and around doors/vent openings .
- Install roll-up sides: Attach plastic to a roll bar using snap clamps for adjustable ventilation. Secure with anti-billow ropes to prevent wind damage .
Step 7: Maintain the Plastic
- Clean regularly: Use mild soap and water to remove dirt, which can block light and degrade the plastic .
- Repair tears: Patch holes immediately with greenhouse repair tape .
- Seasonal checks: Inspect tension and UV damage before winter and summer .
Step 8: End-of-Life Management
- Recycle: Many agricultural suppliers accept used greenhouse plastic. Look for local recycling programs .
- Dispose responsibly: Avoid landfills. If recycling isn’t possible, use certified waste facilities .
Step 9: Upgrade for Efficiency
- Double-layer insulation: Inflate air between two plastic layers for better heat retention .
- Add shade cloth: In hot climates, this reduces overheating without blocking light .
Step 10: Responsible Disposal
- Support initiatives for biodegradable plastics or community recycling drives .
FAQs on Managing Greenhouse Plastics
1. How long does greenhouse plastic typically last?
Most polyethylene greenhouse covers last 1–5 years, depending on UV resistance, thickness (measured in “mil”), and environmental factors. UV-stabilized plastics can last 4+ years, while non-treated options degrade faster. Inspect annually for brittleness or discoloration.
2. How do I clean greenhouse plastic safely?
Use mild soap, water, and a soft brush or cloth. Avoid abrasive tools or harsh chemicals (e.g., bleach) that damage UV coatings. Rinse thoroughly to prevent residue buildup, which can reduce light transmission.
3. Can I repair tears instead of replacing the entire cover?
Yes. Use UV-resistant tape, patches, or commercial repair kits for small tears. Clean the area first, and ensure edges are sealed to prevent expansion. Large damage may require partial or full replacement.
4. What’s the best way to dispose of old greenhouse plastic?
Landfilling is common but not eco-friendly. Check local recycling programs—some accept LDPE/HDPE (recycling codes #4 or #2). Agricultural plastic recycling programs or upcycling (e.g., ground cover) are better alternatives. Never burn it; toxic fumes are hazardous.
5. Are there recycling options for greenhouse plastic?
Specialized agricultural plastic recyclers exist but may require bulk quantities. Contact local waste management or farming cooperatives for drop-off points. Clean plastic thoroughly to remove dirt and debris before recycling.
6. How should I store plastic during the off-season?
Clean and dry the plastic, roll it (don’t fold) to avoid creases, and store in a cool, dark, rodent-free area. Use storage bags or wrap in breathable fabric to prevent moisture buildup.
7. What type of plastic is best for greenhouses?
Choose UV-stabilized, 6-mil polyethylene for durability. Anti-condensate coatings reduce dripping, while diffused plastics scatter light for even plant growth. Balance cost with longevity based on your climate and budget.
8. What are signs that plastic needs replacing?
Yellowing, brittleness, reduced light transmission, or frequent tears indicate degradation. Poor temperature regulation or condensation issues also signal it’s time for a new cover.
9. Is repairing more cost-effective than replacing?
For minor damage, yes. However, repeatedly patching aged plastic may compromise insulation and light diffusion. Compare repair costs against the price of new film—extensive damage often warrants replacement.
10. Can I use pressure washers or solvents to clean?
Avoid high-pressure washers, as they can tear the material. Solvents like acetone or ammonia degrade plastic. Stick to gentle cleaning methods to preserve structural integrity.
Final Tips
Maximize lifespan by securing plastic properly to frames, avoiding abrasion, and addressing damage promptly. Prioritize recycling or repurposing to reduce environmental impact. Investing in quality plastic upfront saves long-term costs and effort.